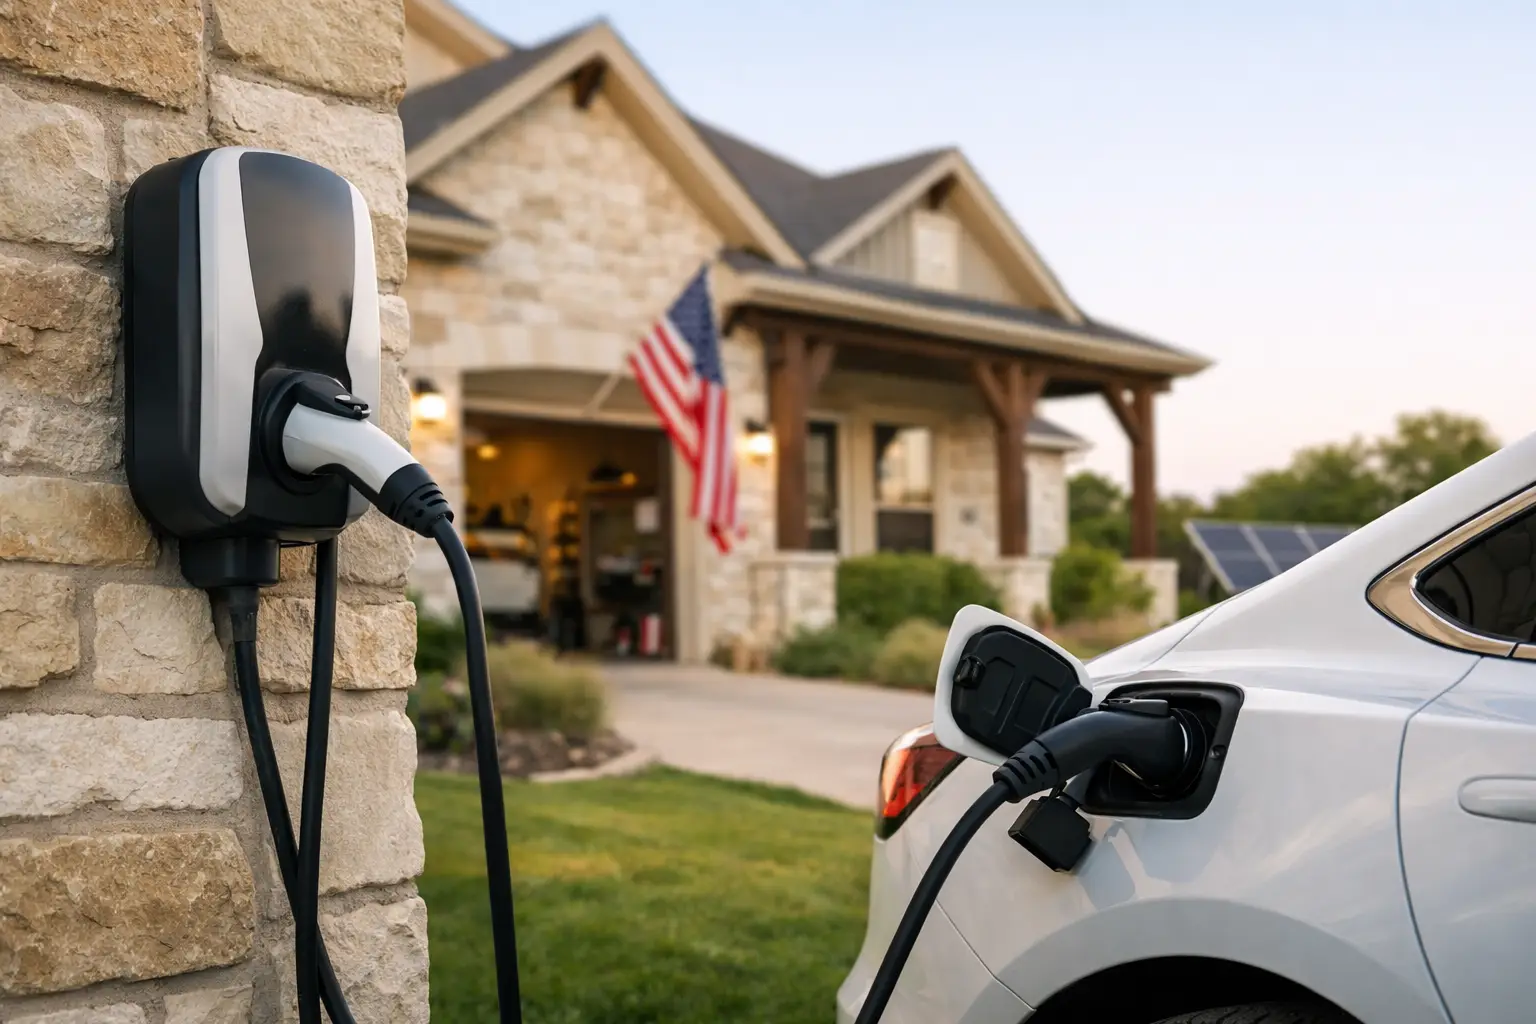
A new EV may come with a portable charging cord, but relying on a standard wall outlet can mean adding only a few miles of range each hour. For most Texas homeowners, a professionally installed Level 2 charger is the practical answer. This EV charger installation guide explains what needs to happen before a charger is mounted in the garage, driveway, or carport – and why the electrical work behind the wall matters as much as the charging unit itself.
A home charger should be convenient, but it also needs to be safe, properly sized, and installed to current electrical code. That starts with an honest assessment of your home’s existing electrical system rather than assuming every panel can accept another high-demand circuit.
Start With the Right Home Charging Plan
Most homeowners choose between Level 1 and Level 2 charging. Level 1 uses a standard 120-volt outlet and can work for drivers with short daily commutes, plenty of time between trips, and a vehicle that accepts the supplied charging cord. It is slow, however, and an older or questionable outlet is not a good place for continuous charging loads.
Level 2 charging uses 240 volts, much like an electric dryer or range. It can provide substantially more range overnight, making it the preferred choice for busy households, larger EV batteries, and families with more than one driver. Level 2 equipment may be hardwired or plug into a dedicated receptacle, depending on the charger model and installation plan.
Before choosing a charger, think about where the vehicle actually parks, how far the charging port is from that location, and whether you expect your next vehicle to need more charging capacity. The least expensive charger is not always the least expensive installation. A unit on the same wall as the electrical panel is often simpler to install than a less costly unit that requires a long conduit run across a garage, through an attic, or out to a detached parking area.
EV Charger Installation Guide: Check Panel Capacity First
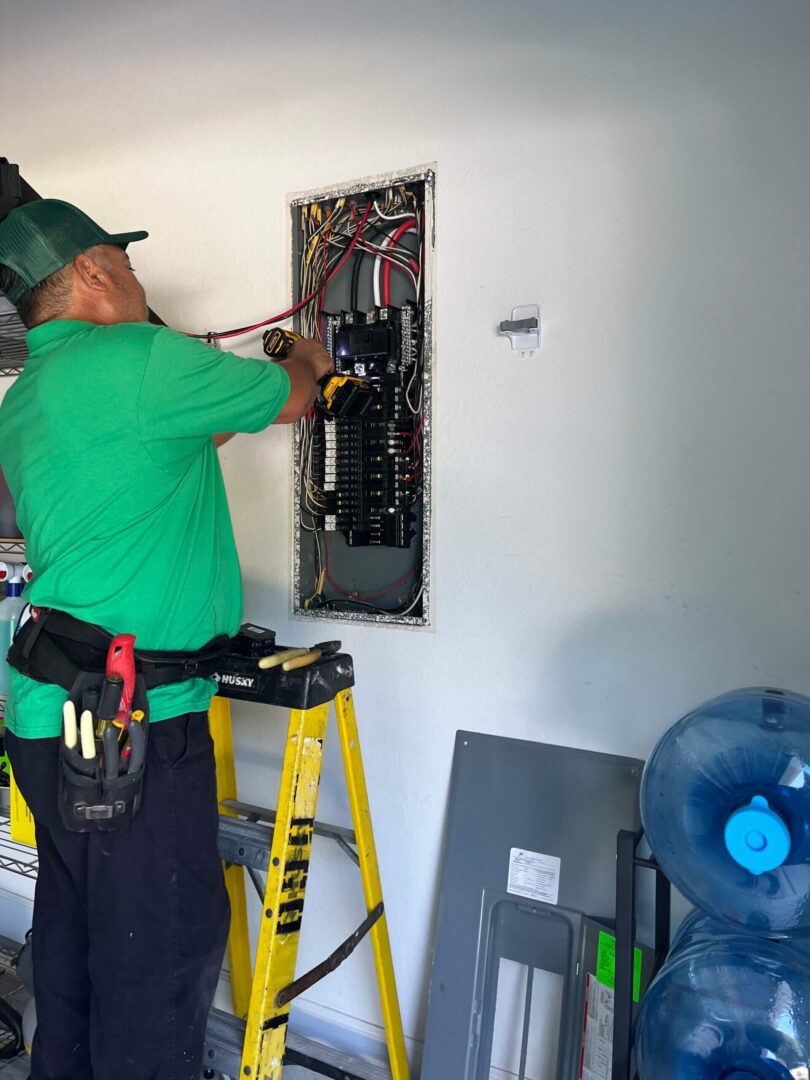
An EV charger is a continuous electrical load, meaning it can operate at high demand for hours at a time. That is why the installation cannot be planned by looking only for an empty breaker space. A licensed electrician should calculate whether your existing service and panel have enough available capacity for the new circuit along with the home’s other electrical demands.
Many Magnolia-area homes have 150- or 200-amp service, and some will accommodate a Level 2 charger without major upgrades. Others may need a panel upgrade, service upgrade, load-management equipment, or a lower-output charging setting. Homes with electric heat, pools, hot tubs, large HVAC systems, electric ranges, or multiple major appliances may have less available capacity than expected.
The charger’s output and breaker size must also match. For example, a charger drawing 32 amps continuously typically requires a 40-amp circuit, while a 48-amp charger commonly requires a 60-amp circuit. The wiring, breaker, disconnecting requirements, and equipment rating must all be selected for the actual installation. Simply installing the biggest breaker available is unsafe and can damage equipment.
Older panels deserve special attention. Corrosion, overheating, loose connections, outdated equipment, or a crowded panel can create problems that should be corrected before adding a high-use circuit. A good electrical contractor will explain what the home can support, what improvements are recommended, and why, without pushing unnecessary work.
Choose a Safe Charger Location
A charging station should be placed where the cord reaches the vehicle comfortably without becoming a trip hazard, stretching across a walkway, or resting where it can be damaged. Garages are common, but outdoor installations can work well when the equipment is rated for the environment and properly protected.
For an exterior charger, an electrician may need weather-rated equipment, conduit, mounting hardware, and protection from physical damage. Houston-area heat, humidity, rain, and storm exposure all make proper installation especially important. The equipment should be securely mounted, and the cable should have a practical storage position when it is not in use.
If you are building a home, renovating a garage, or planning a future EV purchase, it can make sense to install conduit and reserve panel capacity now. This is often less disruptive than opening finished walls later. For a detached garage or carport, the electrician will determine whether the existing feeder can support charging or whether a new underground run, subpanel upgrade, or dedicated feeder is needed.
Permits, Code, and Inspection Are Part of the Job
Electrical permits and inspections are not paperwork to skip. They provide an independent check that the circuit, wiring method, grounding, overcurrent protection, and equipment installation meet applicable requirements. Rules can vary by municipality and local authority, so the right process depends on where the property is located.
A permitted installation also protects homeowners when selling, refinancing, filing an insurance claim, or addressing a future electrical issue. Work completed without proper permits can create questions about safety and may be costly to correct later.
Your electrician should handle the technical planning, pull permits when required, and coordinate the inspection process. Before work begins, ask what is included in the quoted scope: the charger circuit, breaker, wire, conduit, wall repair if needed, permit fees, charger mounting, and final testing. Clear answers up front are a key part of honest pricing.
What Professional Installation Usually Includes
Every home is different, but a professional Level 2 charger installation generally begins with an on-site evaluation. The electrician verifies panel capacity, reviews the charger specifications, measures the route from the panel to the charger location, and identifies any access or code considerations.
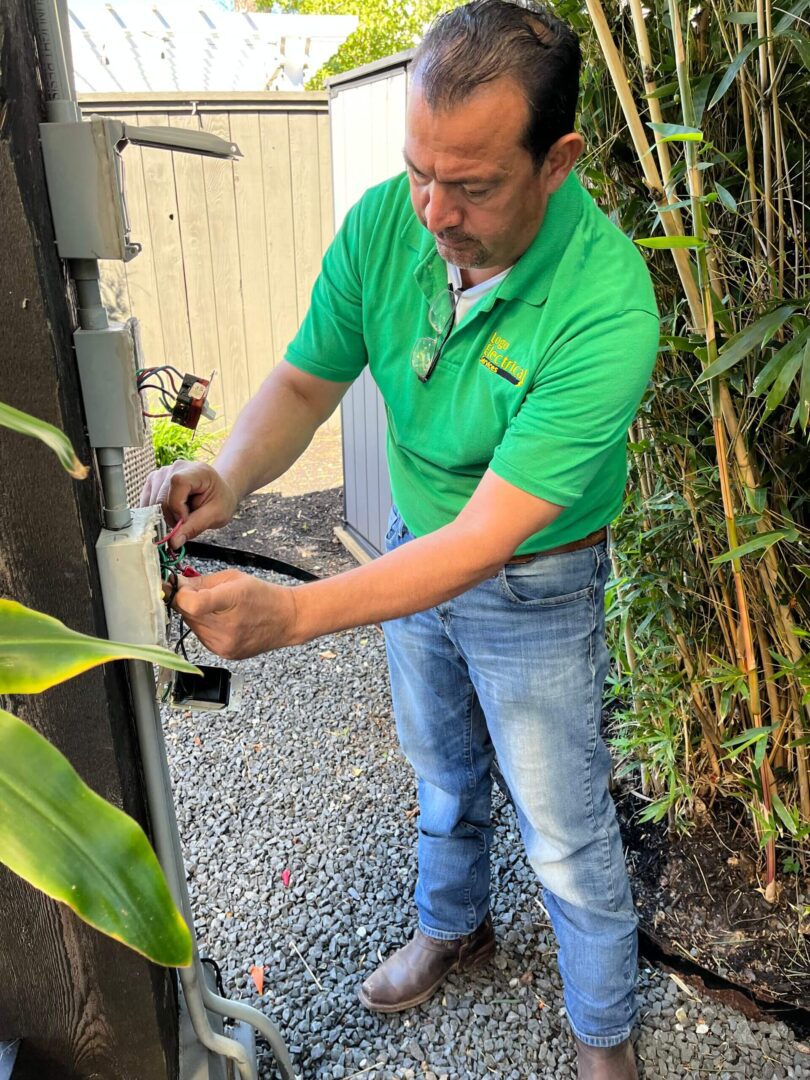
Once the plan is approved, the work typically includes installing a dedicated circuit, running correctly sized conductors, adding conduit where required, mounting the charging equipment or receptacle, labeling the circuit, and testing operation. If the charger connects to Wi-Fi or uses load-sharing features, the electrician can also confirm that the equipment powers on correctly, though app setup is often completed by the homeowner.
The cleanest result comes from planning the wire route carefully. In an unfinished garage, surface-mounted conduit may be a durable, code-compliant option. In finished spaces, the route may require attic access, wall openings, or exterior conduit. There is a trade-off between appearance, cost, and access, and a qualified electrician can walk you through the options before work starts.
Avoid These Common EV Charging Mistakes
The most common mistake is treating EV charging like a simple appliance plug-in. A charger places sustained demand on the electrical system, and improvised solutions can overheat outlets, strain undersized wiring, or create a shock and fire hazard.
Avoid using extension cords for regular EV charging unless the vehicle manufacturer specifically permits a properly rated solution for temporary use. Do not add a receptacle to an existing shared circuit, and do not rely on a breaker upgrade alone to solve capacity issues. The breaker protects the wiring, so increasing its size without replacing the conductors is dangerous.
It is also wise to think beyond the charger itself. Whole-home surge protection can help protect sensitive electronics and charging equipment from voltage surges, while a panel upgrade may create room for future electrical improvements. These are not required for every installation, but they are worth discussing when the home’s electrical system is already being evaluated.
Prepare for a Straightforward Appointment
Before your electrician arrives, have the EV make and model, charger brand and model, desired mounting location, and a photo of the electrical panel available. If possible, move vehicles and stored items away from the panel and charger location. Let the electrician know about planned additions such as a pool, generator, workshop equipment, or another EV, since those plans can affect the right recommendation.
The goal is not merely to make a charger turn on. It is to give your household a dependable charging setup that fits your driving habits, respects your home’s electrical limits, and is ready for years of daily use. For homeowners in Magnolia and the surrounding Houston area, Logo Electrical Services can provide a licensed evaluation and a clear installation plan built around safety, code compliance, and straightforward communication.